
The most difficult Genshin Impact locations: how to get through the Abyss, Dragon Ridge and survive in Snezhnaya (2026)
This information is current as of August 2026.
Teyvat is beautiful but not welcoming: in almost every region of Genshin Impact, there are locations where new players are killed not by monsters, but by the environment itself—cold, storms, radiation, and multi-level mazes. On top of that, there are challenges like the Twisted Abyss and local legends. In this guide, we’ll break down the game’s most challenging areas as of Version 7.0 and provide effective strategies for each one.
The Coiled Abyss: The Game’s Ultimate Challenge
The Spiral Abyss is a twelve-floor timed challenge—the ultimate test of your builds and playstyle. The first eight floors are cleared once and do not refresh; floors 9–12 refresh every two weeks and award up to 600 Primogems for a full clear. The main mechanic involves two teams playing simultaneously: starting from Floor 5, a separate squad clears each half of the hall, so you’ll need eight max-level heroes for the Abyss, not four. Tips: Study the enemy composition in advance and build your teams around elemental shields; the Lunar Blessing (floor buff) in versions 6.7–7.0 enhances Cryo/Electro reactions—use it, don’t ignore it; and don’t give up on the Abyss after your first failure: the difference between 33 and 36 stars is usually a matter of practicing rotations, not spending money.
Dragon’s Ridge: Survival School
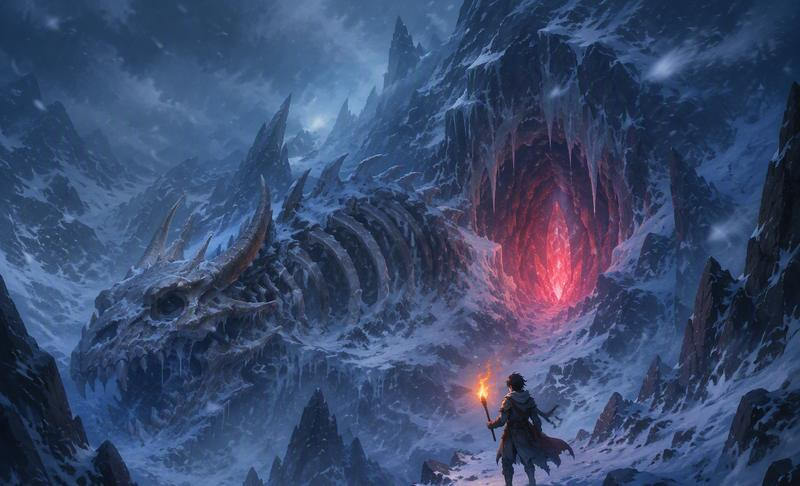
The mountain between Mondstadt and Liyue is the first location where players realize just how brutal Genshin can be. The Piercing Cold mechanic is active here: the frost gauge rises as you move away from heat sources, and once full, it starts draining your HP. Survival hinges on three key strategies: plan your routes from torch to torch (teleports, statues, and braziers reset the meter), prepare food for cold resistance, and keep a Pyro character in your party to light campfires and destroy ice barriers. Scarlet quartz crystals provide temporary protection from the cold and allow you to break ancient ice—the key to most of the mountain’s puzzles. The reward for your perseverance is one of the region’s best storylines and access to the summit with the most beautiful view in the game.
Inazuma: Thunderstorm Wastelands and Radiation
The island nation of Elektro greets travelers with storm radiation (Balethunder) on the islands of Yashiori and Seirai: without protection, your health melts away before your eyes, and lightning strikes in the most inconvenient places. The solution: Electrogranums—small spirits near the branches of lightning rods grant temporary immunity, while the islands’ world quests permanently clear the area of storms. A tip from experienced players: don’t ignore the Inazuma world quest chains (“Orobashi,” “Tatuara,” and others”—they not only advance the story but also literally disable deadly anomalies on the map. Underwater and deep within the Enkanomia caves, make sure to have a healer on your team—the darkness and hordes of ghostly enemies won’t forgive any lapses in vigilance.
Sumeru and the Hadramawet Desert
The western Sumeru Desert is the epitome of “beautiful but confusing”: multi-level ruins, sandstorms, hidden underground passages, and glowing slab mechanics. The main tip is to set up landmarks: the interactive HoYoLAB map with markers for found chests will save you dozens of hours here. The desert’s dungeons are structured vertically: if there’s no passage on your current level, it’s almost certainly one level above or below—check the mini-map by layers. Storm Zones are unlocked by progressing through the Golden Jackal’s world quests—just like in Inazuma, the storylines here “repair” the map.
Fontaine: The Depths and Natlan: Local Legends
Underwater Fontaine turns the combat system on its head: character skills don’t work underwater—instead, you borrow abilities from local creatures. Tough underwater bosses require you to use crab shields and sound waves instead of your usual skill rotation—master these mechanics on weaker mobs before taking on the elite ones. Natlan is also famous for its local legends—unique, super-powerful “map bosses” that grant achievements for specific victory conditions. There’s a simple formula for defeating them: check the mechanics tutorial, bring a healer and a tank, and don’t hold back on your ultimates—the legends will punish you for saving your bursts “for later.”
Nod-Krai and Snowy: What to Expect from the New Regions
Nod-Krai (versions 6.0–6.7) continued the tradition of “dangerous beauty”: polar wastelands with anomalies, the ruins of Kaenriah, and new elite enemies under the Lunar Reactions mechanics. Snowland in 7.0 took this to its peak—the frost storms of Mare Jivari rely on endurance and route planning, just as the Dragon’s Spine once did. General tips for any new region: first, unlock all teleports and the Archon statue (the map will no longer be a black spot), and read the pop-up tutorials — HoYoverse honestly explains the new mechanics, and players honestly skip them — and don’t be afraid to play co-op: any “impossible” location becomes a walk in the park with an experienced partner.
Player Reviews
In the community’s “most difficult location” poll, Dragon’s Ridge has won six years in a row—a nostalgic classic about which every veteran has a story like “I died here twenty times.” The Sumeru Desert splits players right down the middle: some call it the pinnacle of level design, while others call it “a cartographic nightmare before the introduction of multi-layered maps.” Natlan’s local legends are loved for offering a fair challenge without relying on in-game purchases. And the Living Abyss remains the main source of controversy: half the community considers Floor 12 the gold standard of balance, while the other half sees it as “a two-week grind for premium gems,” but even the grumblers admit: nothing teaches the game like a failed run through the Abyss.
Analysis of Comments
Discussions of challenging content reveal an interesting shift: the community has agreed that “difficulty through survival” (cold, radiation, storms) is more interesting than “difficulty through health bars”—which is precisely why Dragon’s Spine and Snowy are praised, while health-bar-based bosses are criticized. The second trend is cooperative mutual aid: in 2026, “Sherpas”—veterans who guide newcomers through difficult zones for free—thrive in communities, and this is considered the fandom’s finest tradition. The third is respect for those who tackle the Abyss with free-to-play characters: runs with “4★ only, 36 stars” earn more respect than screenshots of pay-to-win teams. The main piece of advice the community offers to anyone who’s stuck is this: a difficult location in Genshin isn’t a wall—it’s a puzzle; if you can’t beat it by brute force, it just means you haven’t figured out the mechanic that solves it yet.
See also
- Genshin Impact for Beginners—Where to Start, Who to Level Up, and How to Avoid Mistakes;
- Version 7.0 Tier List—the best characters by role and who to build;
- Version 7.0 “Snow” — What’s New, Banners, and Whether It’s Worth Starting;
- Weapons and Artifacts—the best free weapons, sets, stats, and farming;
- Quick Leveling — How to Reach Adventure Rank 45 in a Month;
- All About Genshin Impact — Game Overview: Story, Regions, Stats.
Sources: HoYoLAB, Russian Genshin Impact Wiki, Icy Veins.
More about Genshin Impact
- Genshin Impact Quiz: 10 Questions for True Teyvat Experts (2026)
- Genshin Impact Wish Calculator — Pity, Guarantee and Primogems (2026)
- Genshin Impact Promo Codes for September 2026 — All Working Codes
- Genshin Impact for beginners: where to start, who to download and how not to make mistakes (2026)
- The best Genshin Impact characters: tier list version 7.0 by role (2026)
- Genshin Impact 7.0 “Snowy”: what’s new, banners and is it worth starting in 2026
- Weapons and artifacts in Genshin Impact: a complete equipment guide (2026)
- Quick Leveling in Genshin Impact: How to Raise Adventure Rank and Character Level (2026)